Part Two of a Two-Part Series: How to Get Rolling
How do you get your host credentials? First things first, you need to be a licenses user of Zoom (see previous post). Then, to be considered as a host for OnZoom, you begin by signing up at On.Zoom.us and being placed on a waiting list. Once the queue moves and you receive an email inviting you to get on board, you will need to sign up to “Drop In” on one of the host training classes. After attending the 45-minute session in full, you will generally be approved for host services within a few hours. In some cases, this may take 24 hours so don’t panic if you don’t see the welcome email right away.
As an OnZoom host, your options are more extensive than what is provisioned in the regular Zoom meeting and webinar platform. At the same time, your participant total is dictated by your current Zoom Pro plan. You must have a Zoom Meeting Pro plan to become an OnZoom host. In addition, if you want control of participant video and microphones for what is called a “spectator” event (that is, enable video and audio only for host and presenters), you will need to add on a webinar plan of 100, 500, 1,000, 3,000, 5,000, or 10,000 participants. Host user type must be Licensed (for meetings) and be assigned the Webinar add-on. See prices here.
Remember, this is a beta platform, and things are getting better and better!
Let’s get started on some of the key differences you will find with the OnZoom platform: First, you get to create a host profile, and choose a vanity URL. Choose wisely, your vanity URL cannot be changed! With your profile, you will be able to include your website link, and social media links, however in the beta OnZoom platform there is a bug preventing this (as of this writing.)
Once you choose to set up a course, you can designate it for recording to the cloud, and your attendees will receive notification and consent window to acknowledge when they sign up. The recording – for your free events – must be initiated manually. If you are selling tickets (a big benefit of OnZoom), the recording starts automatically when the event commences.
Creating Your Event
When you create an event, you can choose one-time or series. You also select the option of a free event or have a ticket price set. You can set tickets for interactive (with camera) vs. spectator events, and your Zoom Pro plan dictates the maximum number of attendees (including yourself). For Single events, you can also set ticket types for certain lists of people, i.e., allowing certain groups to attend with a set price. You are allowed up to 50 ticket types! Zoom is currently enhancing Series events to allow for multiple ticket types similar to Single events. But for now, Series events only have “Drop-in” (aka join one event) and “Entire Series” ticket types.
One thing to note: You cannot join as Host from more than one device. So, if you were planning some fancy camera angles, you won’t be able to do it with a separate login. In addition, if you set up an Alternate Host (what you may have in Zoom), with OnZoom your Alternate Host must be part of your account.
As you set up your meeting, you will want to assure you have a perfect graphic to accompany the listing – and make sure you have the rights to use the image. You can find many that have no restrictions on sites like Pixabay.com, Pexels.com and Unsplash.com. I personally like all three, but very much appreciate the wide variety of vector graphics included on Pixabay. You can use three images and even include one video.
You can duplicate an event to save time setting up a new listing, and you have two versions of cancellation policies to consider: 1) A guest can cancel, and you will refund their price; 2) The guest can cancel and request a refund, which you may or may not approve. Another important element of your listing will be the tags – these descriptors are valuable for SEO (you can choose up to 10).
Once you have created your event listing, you choose whether to make it public, or available by link invite only, or private. If this is a private event, a guest list controls who can attend. Anyone else with the link will only receive a 404 page. Any registrant to your events receives a registration confirmation email with the unique join link as well as can access their unique join link from the OnZoom Ticket dashboard at any time.

 To avoid issues, pay attention to this security measure: Each ticket is uniquely generated for the email that has signed into OnZoom.com, for better security. Attendee needs to login to his/her Zoom client with the same email when joining the OnZoom event with that ticket.
How the Attendee joins your event is dependent on their settings and what you, as the Host, have enabled your participants to do. If you as the Host have given the Attendees the ability to start their video to participate with video on you can encourage them to turn their video on at the beginning of your event for more intimate connection.
Regarding communication with registrants, you can add a custom message with a link into the “Message for confirmation email” field during event creation or update that message after you publish for new registrants.
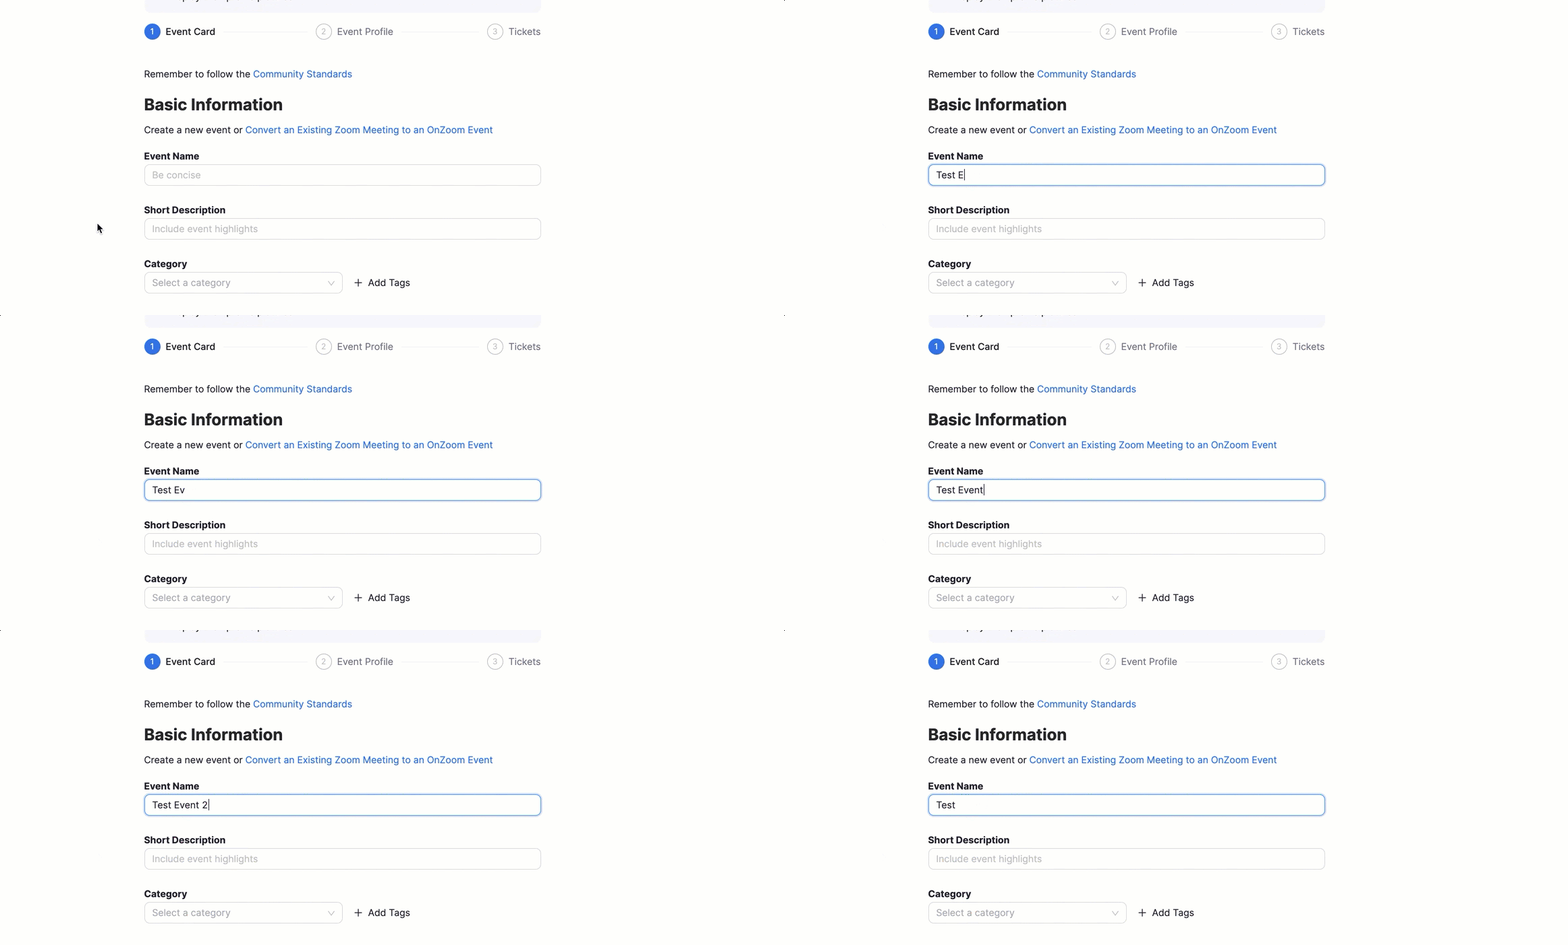
Ready to dive in? Publish a test event first, and follow these instructions when you are publishing any test event:
Ensure that the title of your test event starts with “Test”. As shown in the visual below:

Ready to roll? Enjoy your foray into the On.Zoom.us platform and be sure to check out the great Host Forum for any issues or questions! If you want the services of an On.Zoom host, we offer a whole array of options! Check out our offerings here, and drop me a line!

